Gameplay
Werothegreat (Talk | contribs) (→Setup) |
(→Setup: Moved Kingdom card sections to be close to each other, and event/landmark paragraphs to be near each other; detailed additional setup for some events and landmarks; more explicit sources for starting decks.) |
||
| Line 6: | Line 6: | ||
To set up the game, first prepare the cards which constitute the '''[[Supply]]'''. The Supply normally consists of the 7 [[basic cards|basic]] Supply piles ({{Card|Curse}}, {{Card|Copper}}, {{Card|Silver}}, {{Card|Gold}}, {{Card|Estate}}, {{Card|Duchy}}, and {{Card|Province}}) and 10 [[Kingdom]] cards. Curse cards are included even if no Kingdom card specifically references them. The 10 Kingdom cards, collectively known as the '''Kingdom''', may be chosen by any method agreed upon by the players. A common method is to select randomly from the [[Randomizer]] deck. Alternatively there are some [[Recommended Kingdoms]] that introduce the game and expansions or create interesting decisions for players. | To set up the game, first prepare the cards which constitute the '''[[Supply]]'''. The Supply normally consists of the 7 [[basic cards|basic]] Supply piles ({{Card|Curse}}, {{Card|Copper}}, {{Card|Silver}}, {{Card|Gold}}, {{Card|Estate}}, {{Card|Duchy}}, and {{Card|Province}}) and 10 [[Kingdom]] cards. Curse cards are included even if no Kingdom card specifically references them. The 10 Kingdom cards, collectively known as the '''Kingdom''', may be chosen by any method agreed upon by the players. A common method is to select randomly from the [[Randomizer]] deck. Alternatively there are some [[Recommended Kingdoms]] that introduce the game and expansions or create interesting decisions for players. | ||
| − | [[ | + | Each pile of Kingdom cards in the Supply normally contain 10 cards. Some exceptions include: |
| + | * The {{Card|Rats}} pile (if in the Kingdom) contains 20 cards. | ||
| + | * The {{Card|Port}} pile (if in the Kingdom) contains 12 cards. | ||
| + | * Kingdom [[Victory]] card piles contain 8 cards in a two-player game and 12 cards in games with more players. (A Kingdom card which is both a Victory card and another type is considered a Victory card.) | ||
| + | * The {{Card|Province}} pile contains 15 cards for a five-player game and 18 cards for a six-player game. | ||
| + | * The {{Card|Curse}} and [[Ruins]] piles contain 10 cards per player after the first. | ||
| + | * The [[Basic cards#Basic_Treasures|basic Treasure card]] piles include 60 Copper cards, 40 Silver cards, and 30 Gold cards for 2 to 4 players; or 120 Copper cards, 80 Silver cards, and 60 Gold cards for 5 or 6 players. | ||
| + | * In 2-player games, use one of each {{Card|Castle}}; with more players, use all 12 cards. | ||
Certain Kingdom cards will require additional piles to be included in the Supply. Additional piles which may be included are: | Certain Kingdom cards will require additional piles to be included in the Supply. Additional piles which may be included are: | ||
| Line 14: | Line 21: | ||
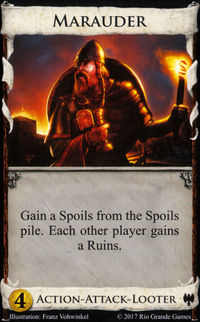
* [[Ruins]] are used whenever a card with the type [[Looter]] is included in the Kingdom. Specifically, {{Card|Cultist}}, {{Card|Death Cart}}, and {{Card|Marauder}} constitute the Looters. | * [[Ruins]] are used whenever a card with the type [[Looter]] is included in the Kingdom. Specifically, {{Card|Cultist}}, {{Card|Death Cart}}, and {{Card|Marauder}} constitute the Looters. | ||
| − | Some Kingdom cards, if selected for a game, may involve the addition of other piles of cards that are not considered part of the Supply. | + | Some Kingdom cards, if selected for a game, may involve the addition of other piles of cards that are not considered part of the Supply. Since these additional piles are not considered part of the Supply, they do not count towards the game ending condition. For example: |
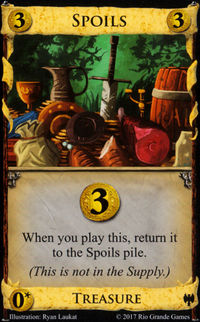
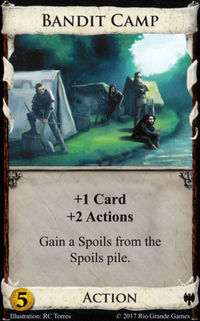
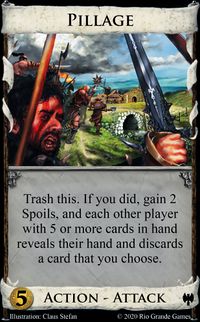
* {{Card|Spoils}} are included whenever {{Card|Bandit Camp}}, {{Card|Marauder}}, or {{Card|Pillage}} is in the Kingdom. | * {{Card|Spoils}} are included whenever {{Card|Bandit Camp}}, {{Card|Marauder}}, or {{Card|Pillage}} is in the Kingdom. | ||
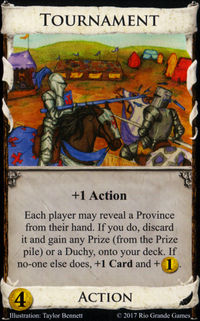
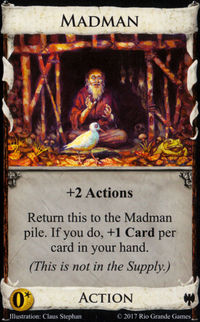
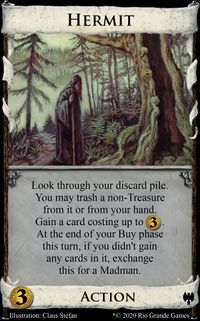
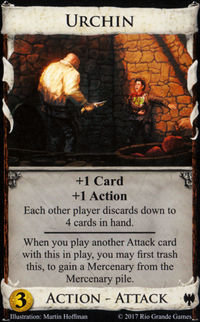
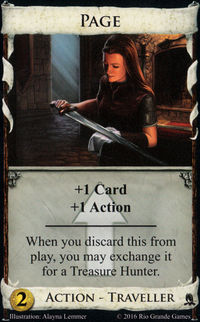
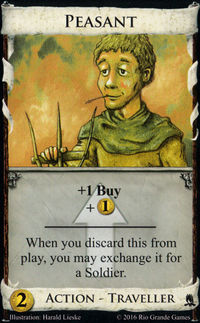
* [[Prize|Prizes]] are used with {{Card|Tournament}}, {{Card|Madman}} is used with {{Card|Hermit}}, and {{Card|Mercenary}} is used with {{Card|Urchin}}. The two [[Traveller]] Kingdom cards, {{Card|Page}} and {{Card|Peasant}}, each come with four additional piles of 5 cards each that they can upgrade into. | * [[Prize|Prizes]] are used with {{Card|Tournament}}, {{Card|Madman}} is used with {{Card|Hermit}}, and {{Card|Mercenary}} is used with {{Card|Urchin}}. The two [[Traveller]] Kingdom cards, {{Card|Page}} and {{Card|Peasant}}, each come with four additional piles of 5 cards each that they can upgrade into. | ||
| Line 21: | Line 28: | ||
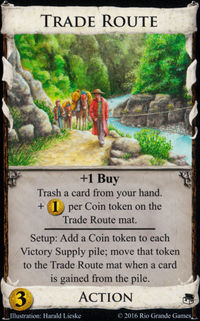
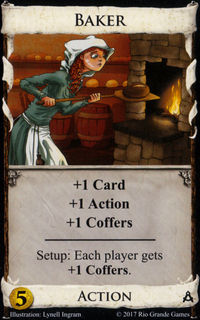
Some Kingdom cards include additional setup instructions: {{Card|Trade Route}} calls for the placement of [[token|tokens]] on [[Victory card]] Supply piles, and {{Card|Baker}} calls for each player to start with one [[Coin token]]. | Some Kingdom cards include additional setup instructions: {{Card|Trade Route}} calls for the placement of [[token|tokens]] on [[Victory card]] Supply piles, and {{Card|Baker}} calls for each player to start with one [[Coin token]]. | ||
| − | + | [[Event|Events]] and [[Landmark|Landmarks]] may be included as well; like Kingdom cards, these may be selected in any way. It is recommended that no more than two Events and/or Landmarks be used per game. | |
| − | + | ||
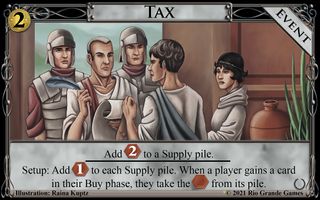
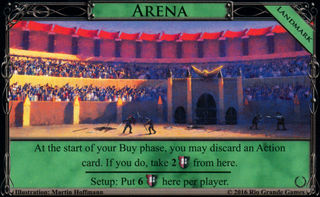
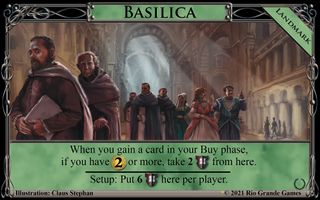
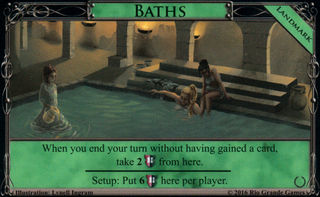
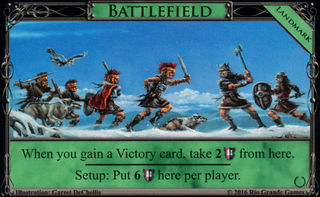
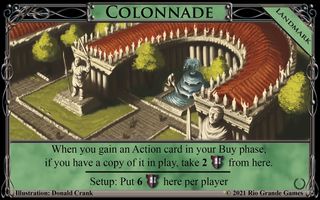
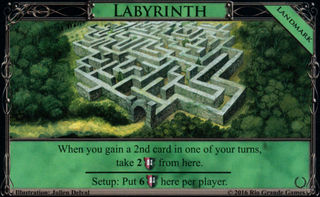
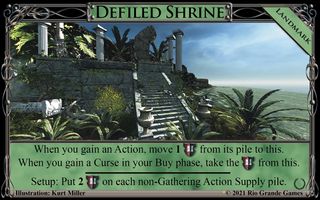
| − | + | Some Events and Landmarks include additional setup instruction: {{Event|Tax}} adds 1 Debt token to each Supply pile; {{Landmark|Aqueduct}} puts 8VP on the Silver and Gold piles; {{Landmark|Arena}}, {{Landmark|Basilica}}, {{Landmark|Baths}}, {{Landmark|Battlefield}}, {{Landmark|Colonnade}}, and {{Landmark|Labyrinth}}, put 2VP per player on those Landmark cards; and {{Landmark|Defiled Shrine}} puts 2VP on each non-Gathering Action Supply pile. | |
| − | + | ||
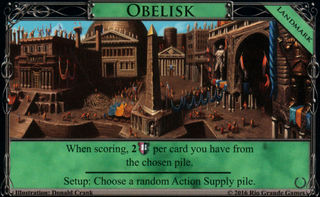
| − | + | The {{Landmark|Obelisk}} Landmark requires an additional step of selecting a random Action Supply pile. | |
| − | + | ||
| − | + | ||
| − | + | ||
| − | Finally, mark out the [[trash]] pile (typically with the trash card), and give each player a starting Deck consisting of 7 Coppers and 3 Estates. If playing with [[Dark Ages]], each player's starting Estates may be replaced with [[Shelter]] cards (see the [[Dark Ages#Additional Rules|additional rules for Dark Ages]] for more information) | + | Finally, mark out the [[trash]] pile (typically with the trash card), and give each player a starting Deck consisting of 7 Coppers (from the Supply) and 3 Estates (not from the 8 or 12 in the Supply). If playing with [[Dark Ages]], each player's starting Estates may be replaced with [[Shelter]] cards (see the [[Dark Ages#Additional Rules|additional rules for Dark Ages]] for more information). |
== Phases == | == Phases == | ||
Revision as of 16:57, 1 July 2016
This article summarizes the rules of the game of Dominion.
Interpretation and exploitation of the rules and mechanics of the game entail strategy and tactics.
Contents |
Setup
To set up the game, first prepare the cards which constitute the Supply. The Supply normally consists of the 7 basic Supply piles (Curse, Copper, Silver, Gold, Estate, Duchy, and Province) and 10 Kingdom cards. Curse cards are included even if no Kingdom card specifically references them. The 10 Kingdom cards, collectively known as the Kingdom, may be chosen by any method agreed upon by the players. A common method is to select randomly from the Randomizer deck. Alternatively there are some Recommended Kingdoms that introduce the game and expansions or create interesting decisions for players.
Each pile of Kingdom cards in the Supply normally contain 10 cards. Some exceptions include:
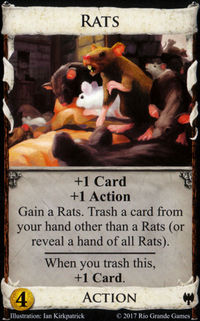
- The Rats pile (if in the Kingdom) contains 20 cards.
- The Port pile (if in the Kingdom) contains 12 cards.
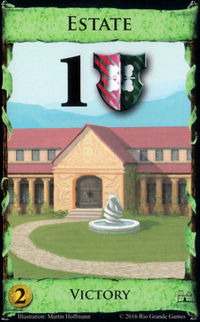
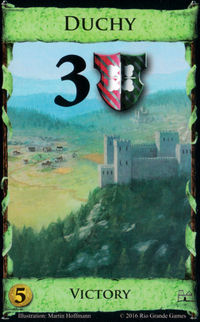
- Kingdom Victory card piles contain 8 cards in a two-player game and 12 cards in games with more players. (A Kingdom card which is both a Victory card and another type is considered a Victory card.)
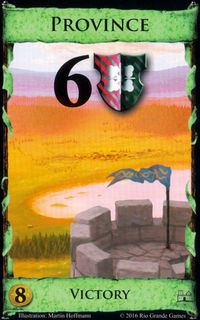
- The Province pile contains 15 cards for a five-player game and 18 cards for a six-player game.
- The Curse and Ruins piles contain 10 cards per player after the first.
- The basic Treasure card piles include 60 Copper cards, 40 Silver cards, and 30 Gold cards for 2 to 4 players; or 120 Copper cards, 80 Silver cards, and 60 Gold cards for 5 or 6 players.
- In 2-player games, use one of each Castle; with more players, use all 12 cards.

Certain Kingdom cards will require additional piles to be included in the Supply. Additional piles which may be included are:
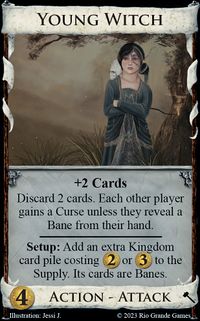
- If Young Witch is selected as a Kingdom card, an 11th Kingdom card costing
 or
or  , designated the Bane card, is added to the kingdom.
- Potion is used whenever any Kingdom card has
 in its cost.
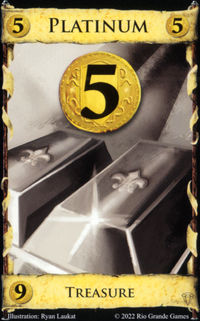
- The use of Colony and Platinum may be added in games using Kingdom cards from Prosperity; it is recommended that this be decided randomly based on the percentage of Prosperity cards in the Kingdom (see the Prosperity additional rules for more information).
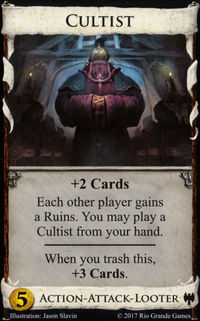
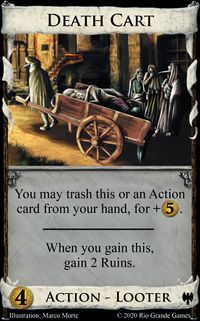
- Ruins are used whenever a card with the type Looter is included in the Kingdom. Specifically, Cultist, Death Cart, and Marauder constitute the Looters.


Some Kingdom cards, if selected for a game, may involve the addition of other piles of cards that are not considered part of the Supply. Since these additional piles are not considered part of the Supply, they do not count towards the game ending condition. For example:
- Spoils are included whenever Bandit Camp, Marauder, or Pillage is in the Kingdom.
- Prizes are used with Tournament, Madman is used with Hermit, and Mercenary is used with Urchin. The two Traveller Kingdom cards, Page and Peasant, each come with four additional piles of 5 cards each that they can upgrade into.
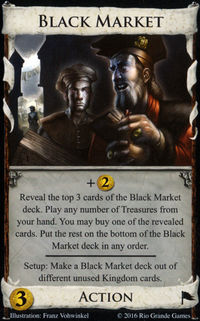
- A Black Market deck is used when playing with the promotional card Black Market.

Some Kingdom cards include additional setup instructions: Trade Route calls for the placement of tokens on Victory card Supply piles, and Baker calls for each player to start with one Coin token.
Events and Landmarks may be included as well; like Kingdom cards, these may be selected in any way. It is recommended that no more than two Events and/or Landmarks be used per game.
Some Events and Landmarks include additional setup instruction: Tax adds 1 Debt token to each Supply pile; Aqueduct puts 8VP on the Silver and Gold piles; Arena, Basilica, Baths, Battlefield, Colonnade, and Labyrinth, put 2VP per player on those Landmark cards; and Defiled Shrine puts 2VP on each non-Gathering Action Supply pile.

The Obelisk Landmark requires an additional step of selecting a random Action Supply pile.
Finally, mark out the trash pile (typically with the trash card), and give each player a starting Deck consisting of 7 Coppers (from the Supply) and 3 Estates (not from the 8 or 12 in the Supply). If playing with Dark Ages, each player's starting Estates may be replaced with Shelter cards (see the additional rules for Dark Ages for more information).
Phases
Starting with the first player (decided randomly to begin with; after that the player who got the fewest points in the previous game), each player sequentially plays a turn, divided into three distinct phases: Action phase, Buy phase, Clean-up phase (usually abbreviated "ABC"). Once each player has taken their turn, the sequence begins again, one turn after the other, continuing until an end condition is met.
Action phase
In the Action phase, the player may play one Action card. Action cards are the cards that say Action at the bottom of the card. Since (in the absence of Shelters) players do not start the game with any Action cards in their initial Decks of 10 cards, a player will usually not have any Actions to play during his first 2 turns. By default, a player may play only one Action card, but some Action cards grant the player the right to play one or more additional Actions afterward. It is never mandatory to play an Action card even if you have one in hand; the only exception is when another Action card that you have played instructs you to do so.
To play an Action, the player takes an Action card from his hand and lays it face-up in his play area. He announces which card he is playing and follows the instructions written on that card from top to bottom, except for instructions specifically noted as applying at a time other than when the card is played. The player may still play an Action card even if he is not able to do everything the Action card tells him to do; but, having played it, the player must follow as much of the card's instructions as he can. Furthermore, the player must fully resolve an Action card before playing another one (if he is permitted to play another Action card) or concluding the Action phase. Detailed information about card abilities can be found on other pages of this site. Any Action cards played remain in the player’s play area until the Clean-up phase of the turn unless otherwise indicated on the card. The Action phase ends when the player cannot or chooses not to play any more Action cards. Generally, a player can only play Action cards during the Action phase of his turn.
Buy phase
In the Buy phase, the player can gain one card from the Supply by paying its cost.
At the beginning of the buy phase, the player may play any number of Treasure cards from his hand, in any order, to his play area. These usually produce some number of coins, which are added to any coins produced by cards played in the Action phase. Some Treasure cards have other effects as well, which are resolved when played in the same way Action cards are resolved in the Action phase. In a game in which Coin tokens are in use, after playing Treasure cards the player may increase his number of coins by spending any number of Coin tokens.
The player may then buy any one card from the supply (or one Event, in games in which Events are in use) whose cost is equal to or less than the total amount of money the player has accumulated this turn: the cost of the bought card, which can be found in the lower left corner, is subtracted from his total, and then he gains the card. Gained cards are taken from the supply and placed face-up directly in the player's discard pile unless otherwise instructed. Ordinarily any card of equal or lower cost that is in the Supply may be purchased (Treasure cards, Victory cards, Kingdom cards, and even Curse or Ruins cards). The player may not purchase cards from the Trash pile or non-Supply piles.
By default, a player may buy only one card, but he may buy more if he played certain cards which grant +Buy either in the Action phase or earlier in the Buy phase. In this case, after buying one card, the player may use whatever money he has remaining to buy another, and so on until he exhausts his +Buys—in other words, the amount of money the player has this turn must be divided among all the cards he wishes to buy. Some cards in the supply cost ![]() ; it still uses up a buy, though not any money, to purchase one of these. Players do not have to use any or all of their buys on a given turn; it is never obligatory to buy a card.
; it still uses up a buy, though not any money, to purchase one of these. Players do not have to use any or all of their buys on a given turn; it is never obligatory to buy a card.
Ordinarily, buying a card does not allow a player to use its abilities; it simply goes straight to his discard pile to be used later. However, there are a few cards that have special effects that take place immediately when the card is bought or gained; these are identified specifically on the card. If an Event is bought, instead of gaining anything the player simply immediately carries out the effects printed on the Event card.
Clean-up phase
All cards gained this turn should already be in the player’s Discard pile. At this point the player places any cards that are in his play area (Action cards that have been played in the Action phase as well as Treasure cards that have been played in the Buy phase) and any cards remaining in his hand onto his Discard pile. Although the player need not show the cards remaining in his hand to his opponents, since he places the cards in the Discard pile face-up, his opponents will always be able to see the top-most card of his Discard pile.
Then, the player draws a new hand of 5 cards from his Deck. If there are not enough cards in his Deck, he draws as many as he can, shuffles his Discard pile to form a new face-down Deck, and then draws the rest of his new hand. Once the player has drawn a new hand of 5 cards, the next player starts his turn. To speed play, players may begin their turns while previous players are completing their Clean-up phases. When someone plays an Attack card, the players must complete their Clean-up phases in order to properly resolve the Attack.
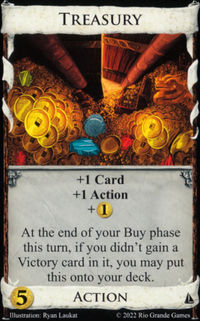
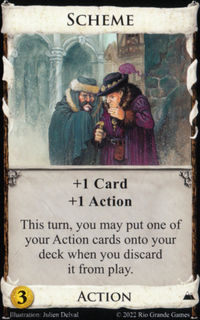
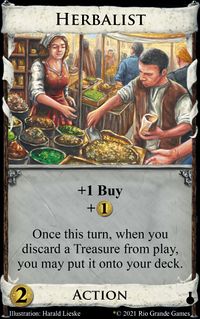
Certain cards have rules which supersede the rules presented here. Duration cards remain in play until the turn when they stop doing something. Other cards, such as Treasury, Scheme, and Herbalist allow you to place cards on top of your Deck when you discard them from play during the Clean-up phase, or have other special effects when discarded from play.
Ending conditions
The game ends at the end of any player’s turn when any of these are true:
- Any three Supply piles are empty (four Supply piles in a game of at least five players)
- The Province Supply pile is empty
- The Colony Supply pile is empty (if Colony was used)
Scoring
Each player puts all of his cards into his Deck and counts the victory points on all the cards he has. The player with the most victory points wins. If the highest scores are tied at the end of the game, the tied player who has had the fewest turns wins the game. If the tied players have had the same number of turns, they rejoice in their shared victory.
Game zones
While the rules do not talk about zones as such, they are clearly established and an understanding of how they work can clear up confusion, especially for new players. Many events in the game can be conceptualized as a card or multiple cards being moved from one zone to another, with different zones having different properties.
This framework also aides in conceiving Dominion as a set of discrete instructions, such as would be used by computer programs.
For each player, the following zones exist:
- The player's hand
- The player's Deck
- The player's Discard pile
- The player's play area
- The player's revealed cards zone
Additionally, for all players, the following communal zones exist:
- The Trash pile
- Each Supply pile (including basic card piles and Kingdom card piles)
- Any non-Supply piles (in addition to the Trash)
Finally, several card abilities create more or less temporary zones, most often by instructing the player to set aside certain cards (sometimes only while an ability is resolved, other times indefinitely; cards which set aside cards will tell the player how to return set aside cards to one of the permanent zones). This zone is occasionally informally referred to as set-aside-cards-land.
Additional rules
Dominion is rather notable in that, aside from basic setup and the three turn phases, most of the rules are on the cards themselves, so players do not have to memorize much in that regard. However, there are a few rules that must be invoked when complicated interactions between cards crop up. Most casual players will never need to worry about these, but competitive players need to be very much aware of their implications.
Blue dog rule
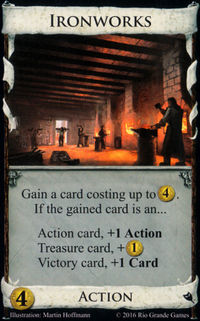
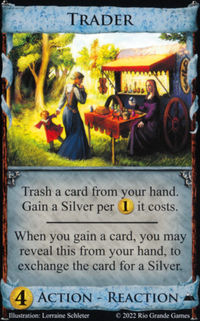
When one card has an effect based on another card that it gains (such as Ironworks), and that gaining is prevented by a third card (such as Trader), the first card's effect that would have been based on the second card does not occur. See the article for details.
Lose Track rule
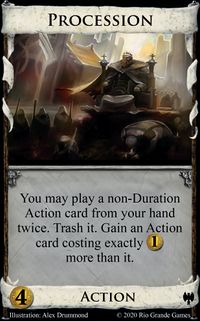
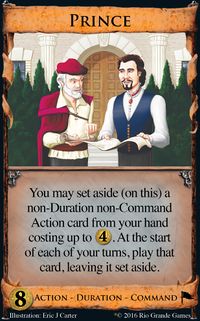
When one card tries to move another card (such as Procession), and the second card is not where the first expects it to be (such as with Wine Merchant), or has been covered up by a third card, the second card is not moved. This is the case even if it is a card trying to move itself (such as Hermit). If the first card has an effect dependent on its moving of the second card (such as with Prince), that effect does not happen; otherwise, nothing else changes.

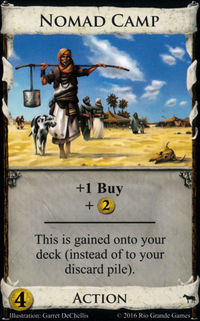
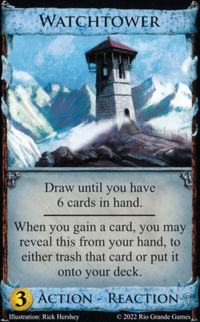
No Visiting rule
When a card is gained to a location other than the discard pile (such as Nomad Camp), it does not "visit" the discard pile, but goes directly to its other location, unless its movement happens after its gaining (such as with Watchtower).
Exotic card types
Card types introduced in later expansions (such as Durations and Travellers) have particular rules associated with their use that are not necessarily immediately obvious from what is written on the cards. The specific rules for these types are detailed on their individual articles.
Official FAQ and Rulings
Each expansion (and each promotional card) comes with a detailed FAQ intended to elaborate on each card's effects, in order to mitigate confusion or to point out interactions that aren't immediately obvious. This is meant to be the authoritative, final word on the subject; however, there are many instances where subtle or uncommon interactions between cards are missed by the designers or playtesters, and there a few cases where the FAQ is actually wrong. In these cases, Donald X usually issues a ruling after the fact (and even these rulings sometimes change). The full FAQ for each card, as well as any rulings, are detailed on individual card articles.