Money strategies
Big Money is an archetypical deck structure in which the player mostly buys Treasure cards, usually along with a small number of Action cards. It is usually contrasted with an Engine, and whether to go for an Engine-like or Big Money-like strategy is an important strategic choice on many Dominion boards.
There has been a lot of analysis on Big Money strategy, in part because Big Money is easier to model and simulate than more complex decks.
A pure Big Money strategy—i.e., a strategy which involves only buying basic cards—is almost never optimal. However, since it is available in every game of Dominion, it can make a useful baseline for comparing other strategies against.
Contents |
[edit] Strategy

There have been multiple strategy articles about Big Money. Below are two. See also this article by ragingduckd on Big Money Choking.
[edit] Strategy article: Big Money
Original article by theory
Big Money is about as simple as a “strategy” can be in Dominion. Buy Province with ![]() , buy Gold with
, buy Gold with ![]() -
-![]() , buy Silver with
, buy Silver with ![]() -
-![]() , and don't buy anything else. (You can fine-tune it by buying Duchies at
, and don't buy anything else. (You can fine-tune it by buying Duchies at ![]() once there are 5 Provinces left, or more advanced Duchy dancing.)
once there are 5 Provinces left, or more advanced Duchy dancing.)
Why is it important? The idea is that for most beginners, you get caught up buying all sorts of pretty fancy Actions, and then one day you realize you are getting stomped by someone who literally just buys money. A lot of people quit at this point, convinced that Dominion is a “solved” game, with no further depth.
But then, one day, you realize that Big Money isn’t unbeatable, it’s just a benchmark. A good mixture of Actions and Treasure easily crushes Big Money, and a good way to tell whether your strategy is a viable one or not is to see whether it can clear the Big Money hurdle. For reference, Big Money averages 4 Provinces by around 17 turns (assuming no attacks). Because you can always go Big Money in every set, every strategy you devise has to be able to do better than Big Money, or else it’s not really a strategy at all.
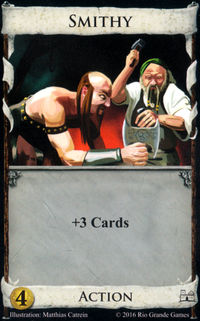
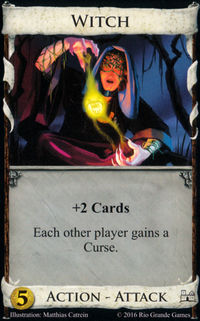
The obvious way of realizing that Big Money isn’t unbeatable is seeing that Big Money plus one Action is going to beat Big Money: Smithy-Big-Money, for instance, gets to 4 Provinces by 14 turns and will stomp Big Money every time. Witch-Big-Money isn’t faster, but will crush Big Money under a tidal wave of Curses. And so on.
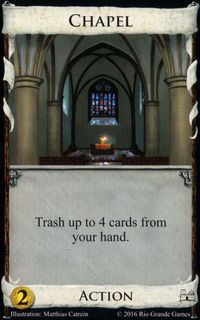
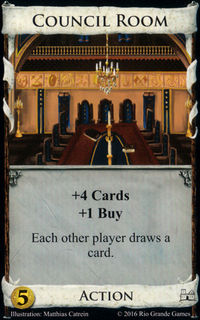
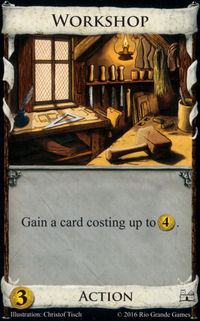
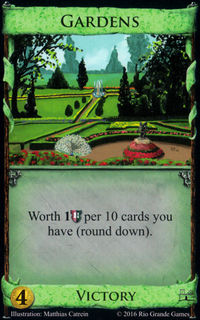
Of course, Smithy-Big-Money isn’t all that much more interesting than playing Big Money. But as you keep going, you realize that more sophisticated interactions also beat Big Money. Maybe you Chapel down your deck, then accelerate into an endgame mega-turn fueled by Bridges and Throne Rooms. Maybe you draw your whole deck with Village/Council Room and end it with a punishing Militia. Maybe you forsake Provinces altogether in favor of Workshop/Gardens. And as each expansion introduces new Action cards, Big Money becomes worse and worse.


Here’s another way of thinking about it. Consider a highly simplified version of Dominion, where each turn you roll your “money die” five times. If the sum of your rolls reaches a certain threshold, you get to buy a Province.
Now, the obvious and “Big Money” approach is to add more and bigger numbers to the die by buying Silvers and Golds. But there are other approaches:
- You can eliminate all the low numbers from the die so your average die roll is higher. (Chapel)
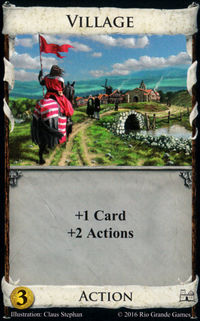
- You can find ways to roll the die more times. (Village/Smithy)
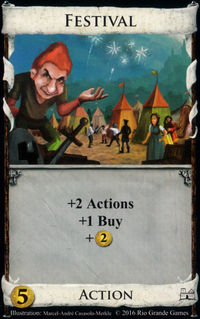
- You can add bonuses to your die roll. (Festival)
- You can mess up other people’s die rolls. (Witch)
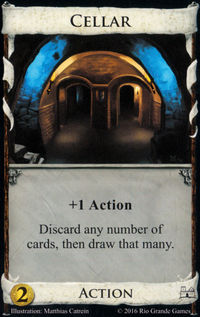
- You can reroll low numbers. (Cellar)
- You can lower the threshold to buy a Province. (Bridge)
- You can go for less valuable cards on lower rolls and end the game before a Province player has time to build up points. (Workshop/Gardens)
What Big Money really is is a lower bound for advanced play. Good decks have no difficulty beating Big Money; most beginners cannot. In very, very few sets is Big Money (or 1 Action plus Big Money) the dominant strategy. Studying a board to figure out how to design a deck capable of beating Big Money: well, that’s what Dominion is all about.
[edit] Big Money Optimized
It is rare for Big Money alone to be optimal. However, for purposes of comparison and for purposes of developing further strategies, it is useful to know what "Optimal" Big Money play is. The optimal play for Big Money against another Big Money-like deck is described by the following rules:
- When you draw
 - always buy Province, unless you get really early (no Gold, fewer than 5 Silvers in your deck), in which case buy a Gold.
- When you draw
 -
- , buy Gold, unless the game is nearing the end (4 or fewer Provinces remaining), in which case buy Duchy.
- When you draw
 , buy Silver, unless the game is nearing the end (5 or fewer Provinces remaining), in which case buy Duchy.
- When you draw
 -
- , buy Silver, unless the game is nearing the end (2 or fewer Provinces remaining), in which case buy Estate.
- When you draw
 , only buy an Estate if there are 3 or fewer Provinces remaining.
This can be further improved by properly applying the Penultimate Province Rule. Still, this is not a strategy you should expect to follow in a real game of Dominion, but it is a baseline both for evaluating competing strategies and for adding in improvements.
[edit] Terminal draw Big Money

The most common way of improving a Big Money deck is with a small number of terminal draw cards. This is discussed in [this article] written by HiveMindEmulator and edited by Theory, and partially reproduced below.
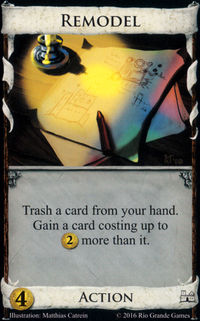
One of the simplest basic strategies you learn which is surprisingly effective in the base set is “Smithy Big Money”. The idea of this strategy is to open Smithy/Silver, add a second Smithy sometime after a couple of shuffles, and other than that, buy just money and VP cards. You can add in some cards to help with the late game, like Market or Remodel, but for the most part, it’s just a couple of Smithies and money. The idea is that the Smithy is going to draw you up to 7 cards, and with 7 cards, you can very often buy Gold. And when you have enough Silver/Gold, you can often buy Provinces.
When you add in some expansions with more trashing and other engine-friendly cards, as well as cards that are better than Smithy with “Big Money” strategies, Smithy BM becomes pretty weak. But there are some variants of it that you may at times go for, particularly when there is no way to quickly build a strong engine. The goal of this article is to look at the terminal draw cards and discuss the differences from plain old Smithy BM and how they affect the game.
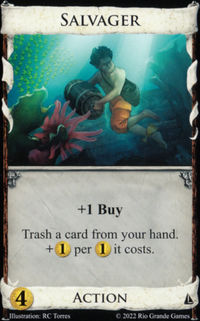
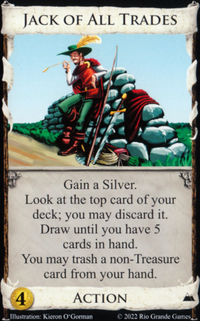
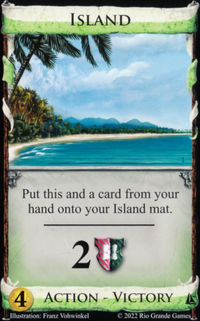
Before we get into the cards, we should outline a few general ideas about terminal draw BM. First off, you can’t afford to have too many actions, particularly terminals, because you’re going to draw cards dead. And compared to decks without card-drawing, you go through more cards per turn. As a result, you want to stick to a couple of drawing cards and only mix in other actions that do something particularly strong in the early- or late-game. Examples include end-game accelerating trash-for-benefit cards like Remodel or Salvager, and really strong estate-trashing openings like Jack of all Trades, Masquerade, or Island. With these three cards, in particular, you want to open them ahead of Smithy, adding the Smithy on turn 3-4.

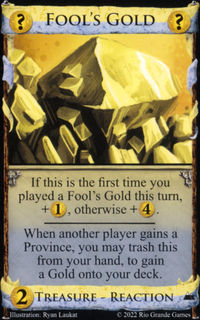
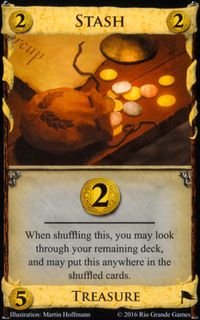
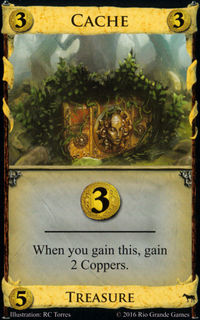
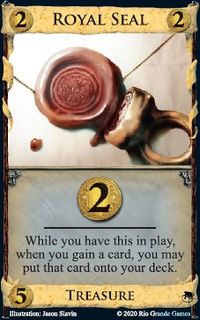
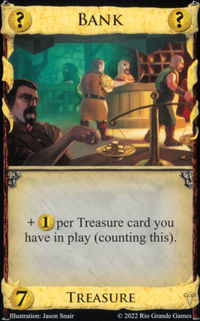
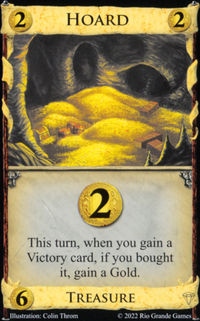
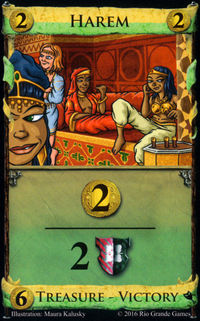
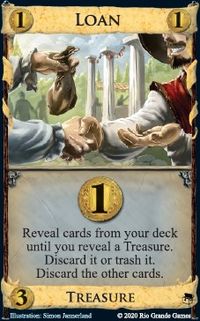
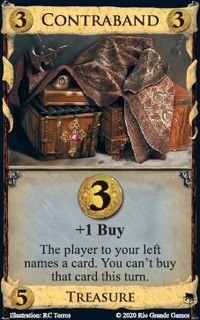
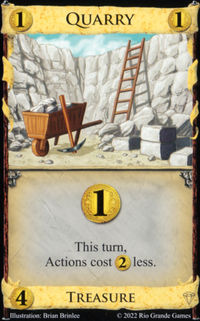
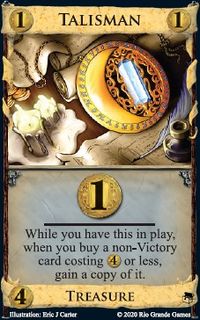
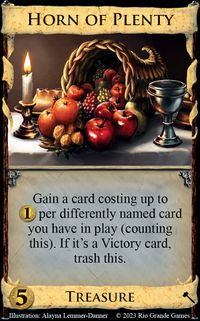
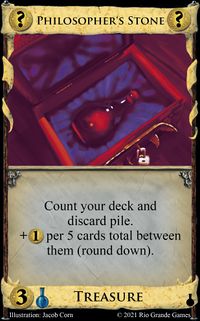
While you want to take it easy on the actions, you’re more than happy to grab kingdom treasure cards like Fool's Gold, Venture, Stash, Cache, Royal Seal, Bank, Hoard, or Harem (not Loan, Contraband, Quarry, Talisman or Horn of Plenty, which are primarily for engines, and not Philosopher's Stone, whose Potion cost makes it too slow for a fast BM strat). Kingdom treasures tend to make terminal draw BM stronger, so the presence of one of these cards may steer you towards playing terminal draw BM. Terminal draw BM decks are really set back by drawing ![]() (which is a little too much for a Silver but not enough for a Gold), so being able to buy Venture is a real benefit.
(which is a little too much for a Silver but not enough for a Gold), so being able to buy Venture is a real benefit.


On the flip side, strong engine parts and Colonies are real drawbacks to running a terminal draw big money strategy. Your slow-but-steady “tortoise” strategy is more likely to be hammered down by a game-ending mega-turn “hare” strategy.

A couple of tactics also show up in terminal draw BM games.
- If playing your draw card will trigger a reshuffle, you have to weigh the benefits. Usually, it’s worth it, since skipping this play of the card is usually just as bad as having it miss the shuffle, but if it’s not going to improve your buying power, you should skip it.
- When it comes down to Duchy dancing, you want to keep track of your opponent's key cards: their terminal drawers and their Golds. For Smithy BM, for example, once you’re well into greening, Province turns typically require Smithy+Gold or 2xGold. So if you can tell from previous turns that your opponent can’t have one of these hands, you may want to break the Penultimate Province Rule.
As a disclaimer, none of the numerical things I say in this article are to be taken too literally. When I say that you want a Smithy “after the second shuffle”, that doesn’t necessarily mean that something magical happens when you shuffle the deck a second time. It’s just a relative timing. At around 16-18 cards in your deck, you can tolerate a second Smithy if your only actions are Smithies. But if you want to add some other card or your opponent does some sort of attack, that changes things.
Describing how to play Big Money with each Terminal draw card is best done on the wiki pages for those cards:
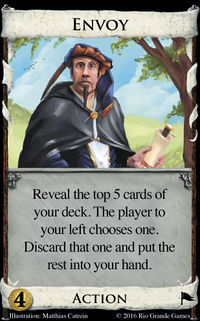
- Envoy
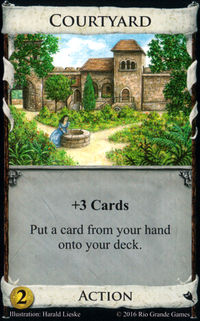
- Courtyard
- Masquerade
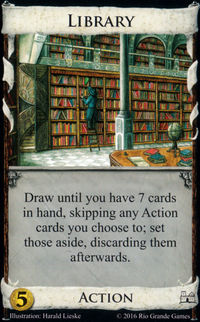
- Library
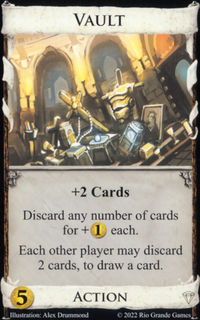
- Vault
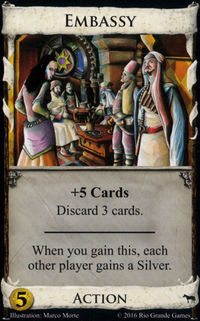
- Embassy
- Council Room
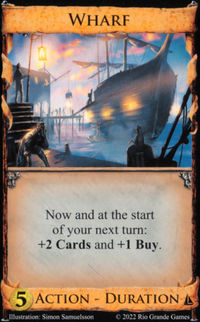
- Wharf
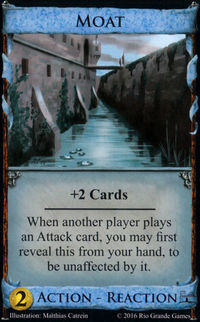
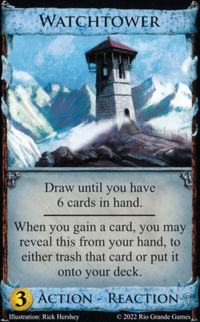
- Moat and Watchtower
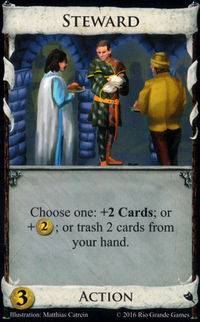
- Steward
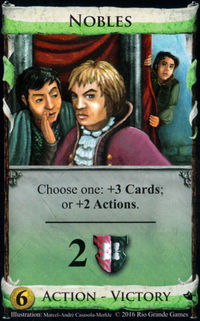
- Nobles
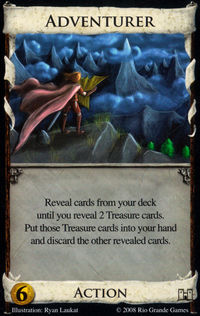
- Adventurer
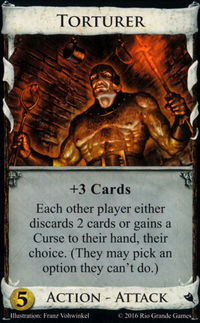
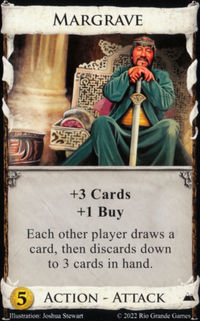
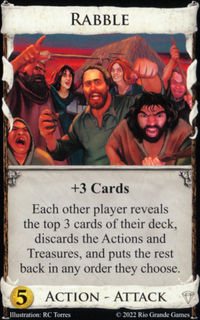
- Torturer/Margrave/Rabble
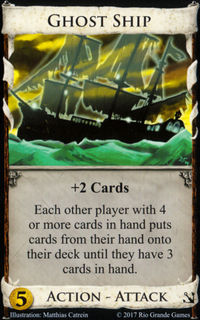
- Ghost Ship
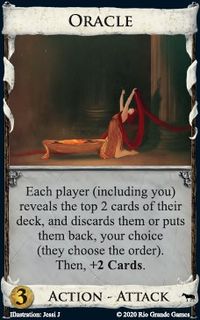
- Oracle
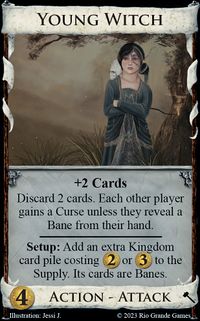
- Young Witch/Witch
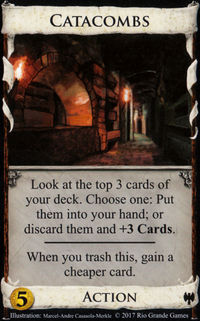
- Catacombs
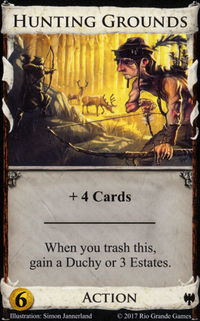
- Hunting Grounds
[edit] The Keys to Big Money: Money Density and Opportunity Cost
Original article by WanderingWinder and edited by Theory.
In a big-money kind of deck, there are really two concepts you need to be aware of: the first is money density, the second is opportunity cost.
[edit] Money Density
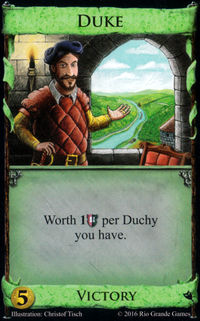
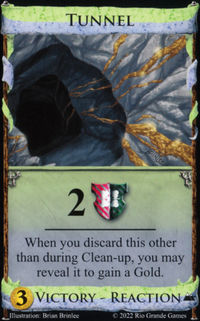
Money density is the average value in ![]() production of cards in your deck: i.e., Copper produces one, Silvers two, Estates and such 0. It’s important to keep in mind that, based on 5-card hands, you need a money density of 1.6 to buy a Province and 2.2 for a Colony. You need only 1 for Duchies or Dukes, and less for things like Gardens, Islands, Tunnels, whatever.
production of cards in your deck: i.e., Copper produces one, Silvers two, Estates and such 0. It’s important to keep in mind that, based on 5-card hands, you need a money density of 1.6 to buy a Province and 2.2 for a Colony. You need only 1 for Duchies or Dukes, and less for things like Gardens, Islands, Tunnels, whatever.
Calculating your money density is very simple if you know what’s in your deck: add up all the production values of the money, divide by the total cards in your deck. So for your initial deck, you have 7*1 for the Coppers +3*0 for the Estates, all divided by the 10 total cards for a money density of 0.7.
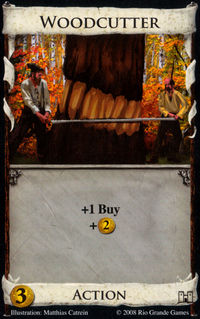
Branching out slightly, you probably want to buy at least one card that’s not a Silver or Gold or Province or Duchy, right? How do other cards fit into money density? Well, the simplest are cards like Woodcutter. Woodcutter (at least, the first one) provides an obvious benefit over Silver in that it gives you a buy. But, for all intents and purposes, it still counts as ![]() in your money density.
in your money density.
There’s another very simple, very common kind of card to deal with when making your money density calculations: cantrips. (I’m using ‘cantrip’ here to define any kind of card that always draws at least one card and gives at least one action back to you). Cantrips are what I call, for the purposes of money density calculations, ‘virtual cards’. What I mean by that is, because they replace themselves totally in your hand, they don’t count toward the total count of cards that you’re using as the denominator for your money density calculations. So, if you buy a Village and a Militia with your two starting buys (not, by the way, a good strategy), you have 7 Coppers, 3 Estates, 1 Village, 1 Militia, producing 7, 0, 0, and 2 money respectively and with a total of 7, 3, 0, and 1 cards to count against your deck total. Your total money density is therefore 9/11 = .818181…..
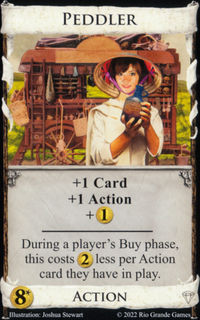
Further expanding on that, if you get a slightly more interesting (in this respect anyway) card, the Peddler, into your deck, you’ve increased your effective deck size by 0 (because it’s a cantrip), but because it produces ![]() extra, you’ve increased your buying power by one. If you could add Peddler to your starting deck, you would have
extra, you’ve increased your buying power by one. If you could add Peddler to your starting deck, you would have ![]() total money in 10 effective cards for a density of 0.8
total money in 10 effective cards for a density of 0.8 ![]() .
.
Okay, once you get that down, you need to think about terminal collision. I think that most of you know that buying only Treasures and VP won’t get you very far in terms of success (or fun). So you probably want to buy some terminal Actions, and by the end of the game, you probably want to buy more than one. This creates some chance that your terminal Actions will collide. The big key to playing Big Money decks is weighing out the benefits that Actions provide you with versus the chances that they collide. Of course, with non-terminals, you don’t have to worry about that, but very often, you’re better served by taking the risk at some point.
Fortunately, calculating the chances for terminal collision isn’t too hard in general, you just have to remember to use your effective deck size rather than the actual number of cards in your deck. As for figuring out which benefits are worth it… well, I’ll let you guys work that out for yourselves. Just keep in mind that you aren’t optimizing your results in a vacuum, you have to beat another player. This means, generally, that you have to count on yourself getting a little luckier than you should expect to on average because, in those really unlucky cases, you’ve probably already lost anyway. And the amount you have to count on yourself getting lucky, i.e., the amount of risks you have to take, increases more with the more players you add to the game. Villages will help to ease these wrinkles, but you have to get the Village together in the hand that the terminals collide in, which doesn’t happen so often as people think.
Of course, this leads us to the very important subject of terminal card draw (like Smithy). In general, by the time you’re mixing multiple terminal draws… you’re probably engine building*. And for engine building, things like getting your engine to be able to fire consistently and having a sufficient payload are far more important than the money density concept.
But even if you’re just running a Big Money + terminal card draw strategy, you probably still want multiple copies: with the big exception of Envoy, you probably want two Smithies, Courtyards, etc. And lots of terminal card draw have ways of mitigating the collision; Vault, Embassy, Courtyard…
So for one to two terminal drawers, this money density look at things is still quite important. For your first terminal drawer, it’s a virtual card to your deck, once more, and then you have a percentage (based on the size of your deck) of having a larger handsize. After all, the reason why average card value is important is so that you can calculate the average value of your hand.
Let’s take Smithy; if I have 2 Silvers, a Gold, a Smithy, and my starting cards in the deck, that’s 13 effective cards, 14 total money, and you’ve got your chance of getting a 7 card hand rather than a 5. Calculating the exact probability is not as easy as you might think, given how reshuffles work. But you can come up with ways to approximate it. As a guesstimate, you’ll have around 3 turns before a reshuffle, and two of those three turns will be 5-card hands and one turn will be 7 cards. That works out to (roughly) 5.4 ![]() , 5.4
, 5.4 ![]() , and 7.5
, and 7.5 ![]() per hand. If you now add a second Smithy, you have a higher chance of getting your 7 card hand, but your money density has dropped from 14/13 to 14/14 (or
per hand. If you now add a second Smithy, you have a higher chance of getting your 7 card hand, but your money density has dropped from 14/13 to 14/14 (or ![]() ). (This seems pretty good, but its hidden cost is discussed in the next section.)
). (This seems pretty good, but its hidden cost is discussed in the next section.)
Understanding money density is also helpful in understanding how much your deck will stall out. A deck with 3 Gold, 7 Silver, 7 Copper, and 3 Estates has a money density of 1.5 ![]() . A deck with 1 Gold, 3 Silver, 2 Copper, and a Chapel has a money density of 11/7, or just over 1.57
. A deck with 1 Gold, 3 Silver, 2 Copper, and a Chapel has a money density of 11/7, or just over 1.57 ![]() . But if we add two provinces to both decks… the first deck drops to an average money density of ~1.364
. But if we add two provinces to both decks… the first deck drops to an average money density of ~1.364 ![]() . The second drops to ~1.222
. The second drops to ~1.222 ![]() . So we can see that thinner decks generally require more padding, and/or choke more on green cards, whereas decks rich with Big Money are much more resilient.
. So we can see that thinner decks generally require more padding, and/or choke more on green cards, whereas decks rich with Big Money are much more resilient.
In actuality, things are a little bit more complicated than this model would have you think because you don’t actually draw average hands. Drawing cards isn’t a continuous operation; it’s discrete. So there’s a difference between having two Silvers and having a Gold and a Copper, and it will be painfully clear to you when you are hit by Militia. Sometimes you want more variance, sometimes you want less.
[edit] Opportunity Cost
We may now be left with an interesting little question. The analysis of buying a second Smithy shows that it should be good for our deck pretty early on, right? Like, look at this deck: we’ve got 7 Copper, 1 Smithy, 3 Estates, and 2 Silvers. Our effective money density is around 0.917 ![]() , we’ve got around a 40% chance of hitting a 7 card hand… adding a second smithy would decrease our effective money density to around 0.846
, we’ve got around a 40% chance of hitting a 7 card hand… adding a second smithy would decrease our effective money density to around 0.846 ![]() , it’s true, but significantly increasing the chances at getting two more cards in our hand is worth it, on the analysis, right?
, it’s true, but significantly increasing the chances at getting two more cards in our hand is worth it, on the analysis, right?
Well, if the choice were between buying the second Smithy and buying nothing, you’d be right. But it’s not. Any time you can buy a Smithy, you can buy a Silver instead. And if you buy that Smithy, that stops you from buying a Silver. The correct play here is for the Silver, not so much because of the collision problem (though that makes putting a free Smithy in your deck barely worth it in the short term), but more because of opportunity cost, i.e. you have to consider what you buy in terms of what else you could have bought, not in a vacuum.
This is actually an important way of looking at all of Dominion, not just Big Money, but I think it’s easiest to understand in Big Money because the money density is easy to calculate. So if you’re trying to decide whether or not to buy a Market, you can’t just look and see whether that’s good for your deck, you have to see if it’s better for your deck than the alternatives.
One nice little way to look at this is with Potion cards. Since whenever you buy a potion, you could’ve gotten a silver, it’s generally true that any time you have ![]() +
+![]() , you could have bought something costing
, you could have bought something costing ![]() +
+![]() . For instance, if you buy a Possession, that could have almost always been a Province if you’d gotten Silver instead. Your Alchemists could have been Laboratories (hey, that actually makes a lot of sense), your Familiars could have been Witches, etc. Now, whether or not you should go for Potions for these cards has a lot to do with variance and the usefulness of the potion later in the game, but it’s a tremendous illustration of opportunity cost in action. The opportunity cost of buying a Potion is a silver (or any other
. For instance, if you buy a Possession, that could have almost always been a Province if you’d gotten Silver instead. Your Alchemists could have been Laboratories (hey, that actually makes a lot of sense), your Familiars could have been Witches, etc. Now, whether or not you should go for Potions for these cards has a lot to do with variance and the usefulness of the potion later in the game, but it’s a tremendous illustration of opportunity cost in action. The opportunity cost of buying a Potion is a silver (or any other ![]() or less cost card), and that Silver could have gotten you a Province; instead you have Possession, which is sometimes better than Province early in the game but typically probably worse than just having the 6VP.
or less cost card), and that Silver could have gotten you a Province; instead you have Possession, which is sometimes better than Province early in the game but typically probably worse than just having the 6VP.
Perhaps the simplest, first way many players need to realize the importance of opportunity cost is with the ‘Village idiot’. Villages, like any cantrip, can’t possibly hurt your deck, since they replace themselves, right? This is the thought process a lot of people go through early on. This may be true, but that doesn’t mean you should just gobble up all the Villages you can; if you start off the game buying Village after Village, you’ll have a whole bunch of unused Actions lying around, with no Action cards to use them on. More importantly, your deck won’t have any buying power, because the opportunity cost of buying a Village is a Silver. Your opponent that buys Silvers will be far ahead of you.
Another great card to look at through the lens of opportunity cost is Hoard. Hoard could have been a Gold. So any time you buy a Duchy with Hoard, you could have bought a gold instead. Now you are gaining that Gold as well, it’s true, but you have to look at when in the game you are... do you want a ‘free Duchy’ in your deck yet? Maybe so, maybe not. To say nothing of the times where the opportunity cost of going Hoard over Gold knocks you down from ![]() , buying a Province, to
, buying a Province, to ![]() , settling for a Duchy and another Gold. Yes, I’m saying that Hoard is overrated and misused.
, settling for a Duchy and another Gold. Yes, I’m saying that Hoard is overrated and misused.
The concept of opportunity cost extends beyond just once through the deck as well. That Silver that your Village cost you is going to hurt your buying power now, and on the next reshuffle, and on the next reshuffle... Furthermore, the buying power reduction that you feel now is going to make you have to buy something worse now, which is going to further hurt you on the next reshuffle, and then that further reduction on that reshuffle will hurt your buying power even more on the next reshuffle… this compounding effect is why the early turns are generally more important than the later ones.
And you can further extend this paradigm to what I call implied opportunity cost. If I buy a Chapel on turn one with ![]() , there are lots of costs to me. I have:
, there are lots of costs to me. I have:
- the that I spent for it, which could have been another 2- or 3-cost card (e.g., Silver) instead
- the cards that will no longer be in my deck once I use the Chapel
- the turns that I’m using Chapel, on which I probably won’t be able to buy things
- Chapel eventually being a dead card.
Now, the second one of these, getting rid of the Coppers and Estates you’re trashing, is probably actually a boon more than a cost. And very often, especially in engine decks, it’s a really big boon. But it does take the turn you’re buying the Chapel, plus probably two full turns of trashing things, plus another turn which is partially hampered by trashing, plus all the times you have a worthless Chapel in your deck. Which is all to say, Chapel, strong as it is, is not actually all that great for a pure Big Money deck.
[edit] Conclusion
A good way of appreciating the in-game impact of these calculations is with the simulators. Both Geronimoo’s and rspeer’s simulators provide graphs of the average money generated per turn. For instance, you can see the significant improvement in average money on the crucial first few turns by comparing Big Money and Big Money/Smithy. (I use rspeer’s only for ease of linking; Geronimoo’s is generally a stronger “player” and has more cards implemented, but requires a download to run.)