|
|
| Line 1: |
Line 1: |
| − | {{Improve}}
| |
| − |
| |
| | {{Infobox Card | | {{Infobox Card |
| | |name = Wharf | | |name = Wharf |
| Line 10: |
Line 8: |
| | }} | | }} |
| | | | |
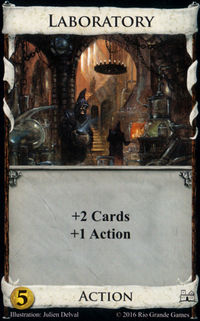
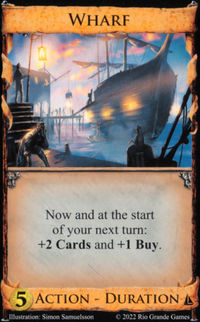
| − | '''Wharf''' is an [[Action]]-[[Duration]] card from [[Seaside]]. It is a [[terminal card draw]] card on this turn, but its duration ability is what makes it one of the best cards in Dominion — [[duration draw|drawing 2 cards at the start of your next turn]] is like having played two {{Card|Laboratory|Laboratories}}! Wharf leads to games with extremely reliable, extremely powerful engines, and it is also one of the fastest [[Big Money]] enablers. | + | '''Wharf''' is an [[Action]]-[[Duration]] card from [[Seaside]]. It is a [[terminal card draw]] card on this turn, but its duration ability is what makes it one of the best cards in Dominion — [[duration draw|drawing 2 cards at the start of your next turn]] is like having played two {{Card|Laboratory|Laboratories}}. |
| | | | |
| | == FAQ == | | == FAQ == |
| Line 18: |
Line 16: |
| | === Other Rules clarifications === | | === Other Rules clarifications === |
| | | | |
| − | == Strategy Article == | + | == Strategy == |
| − | ''[http://dominionstrategy.com/2012/08/21/seaside-wharf/ original article]'' synthesized from articles by Epoch and WanderingWinder by theory.''
| + | Wharf is one of the strongest [[draw]] cards in the game. [[Duration]] draw is a very powerful effect, since increasing the size of your starting hand next turn raises your chances of [[collision|colliding]] the cards you need in order to have a good turn; it’s especially useful when your draw cards are [[terminal]] and therefore need a [[Village (card category)|village]] to be played first. As Wharf provides a small amount of draw for your current turn too, it compares very favourably to other Duration draw cards, which are often [[terminal]] [[stop card]]s when played. The further addition of two extra [[Buy]]s for each Wharf play serves to cement its status as a highly valuable card in most [[Kingdom]]s. |
| − | | + | |
| − | Wharf is, bar none, the best card-drawer in the game. | + | |
| − | | + | |
| − | And on some level, that’s all you need to know. Card drawing is valuable. Wharf is the best one. It works well in all the cases that you want to draw cards. It excels, paired with [[Villages]], in a cards/actions engine. It is also extremely good, bought in moderation, with a [[Big Money]] deck, or practically any other deck.
| + | |
| − | | + | |
| − | It may be a bit surprising that Wharf is the best card drawer in the game. It, after all, gives only +2 Cards, in the same category as such low-tier terminal drawers such as {{Card|Witch}}, {{Card|Steward}}, and {{Card|Vault}} (all of which are good cards, mind you, but not principally due to their ability to draw cards). Of course, Wharf gives you the +2 Cards effect twice, but the general rule in Dominion is that one big turn counts more than two little turns, so you might imagine that {{Card|Smithy}}, with its +3 Cards now, would beat Wharf, with its +4 Cards split up in two.
| + | |
| − | | + | |
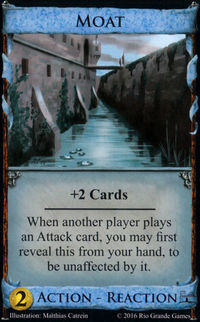
| − | In practice, what separates Wharf from everything else is its duration effect. A {{Card|Moat}} with a +Buy this turn is OK, not so great, but starting off next turn with the equivalent of {{Card|Worker's Village}} + {{Card|Smithy}} is a gamechanger. It’s like two {{Card|Laboratory|Labs}}, with +Buy to make it all the sweeter. And the key is that its card draw next turn is essentially non-terminal; you don’t use up your Action to get the increased handsize.
| + | |
| − | | + | |
| − | As a result, Wharf is arguably the best card in the game which you cannot use to give a {{Card|Curse}} to your opponent. It’s versatile, effective in just about every kind of game, and links into all sorts of combinations. Very few decks aren’t significantly improved with Wharves.
| + | |
| − | | + | |
| − | [[File:powerofwharf.png]] | + | |
| − | | + | |
| − | (can someone please explain how to interpret this graph?)
| + | |
| − | | + | |
| − | === Synergies ===
| + | |
| − | | + | |
| − | It is instructive to think through things that Wharf works really well with, and what Wharf doesn’t, because it helps highlight all of Wharf’s strengths and weaknesses.
| + | |
| − | | + | |
| − | Wharf pairs well with {{Card|Peddler}}. Wharf not only gives you the +Buy to take advantage of cheap Peddlers, but the fact that it’s a Duration (and therefore stays in play for two turns) means that you’ll often be able to get Peddlers for {{Cost|2}} or less.
| + | |
| − | | + | |
| − | Wharf is a natural fit with {{Card|Throne Room}} and {{Card|King's Court}}. There are many reasons for this: first, and most naturally, is that with big hands, your TR’s and KC’s are more likely to hit, and more importantly, more likely to land the killing KC-KC blows. More subtly, if you draw KC-{{Card|Council Room}}, you sort of have a big turn this turn, but it’s wasted if you draw all Actions. KC-Wharf might waste this turn a little bit, but then next turn you get to start with 11 cards!
| + | |
| − | | + | |
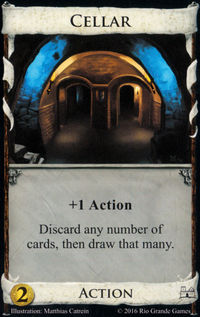
| − | Wharf works with {{Card|Cellar}} and {{Card|Warehouse}}, both of which require large hands to maximize their effectiveness. This is one of those rare times where Cellar may outperform Warehouse: Wharf’s +Buy lets you pick it up easy, and with such big handsizes you might actually want to discard more than 3 cards.
| + | |
| − | | + | |
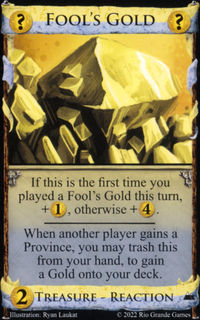
| − | Wharf is absurdly strong with special [[Treasure|Treasures]]: in particular, {{Card|Fool's Gold}}/Wharf is absolutely brutal. Wharf gives you the two things that FG wants – +buys and big handsizes. {{Card|Bank}} and Wharf love each other for very similar reasons.
| + | |
| − | | + | |
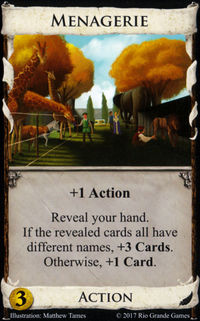
| − | On the flip side, Wharf works poorly with {{Card|Menagerie}}. Menagerie really needs some early [[trashing]] to get its massive card draw, and such early trashing is unnecessary for Wharf. Plus, Menagerie’s benefit (some more cards) is not that helpful with Wharf providing all the cards you need, and the Wharf duration effect actually hurts your odds of activating the Menagerie.
| + | |
| − | | + | |
| − | === Big Money ===
| + | |
| − | | + | |
| − | If you believe the simulators, and you probably should for [[Big Money]] matchups, Wharf is the 5th-best single card for Big Money, after the four top [[curser|cursers]]: {{Card|Young Witch}}, {{Card|Witch}}, {{Card|Mountebank}}, and {{Card|Sea Hag}}. (Yes, it does beat {{Card|Familiar}}. Simulations against [[Dark Ages]] [[looter|looters]] have not yet been done.) And the thing is, with most of the cursers, 1 curser into Wharf is going to be very good on such boards anyway.
| + | |
| − | | + | |
| − | Now, how do you want to play Wharf for money? Well, there are actually several viable ways, depending a bit on what your opponent does. But in general (and say for a mirror), you want to get a couple Wharves before {{Card|Gold}}, pretty much no matter what, and then get a good bit of money, with a third and maybe fourth Wharf, before turning for green. In fact, it almost plays a little like an engine: in most Big Money strategies (say Smithy/BM), you want to green pretty fast — only a couple Silvers and a Gold is enough. But with Wharf, the +Buy means it’s often worthwhile to build up a tiny bit extra buying power before going green.
| + | |
| − | | + | |
| − | Another key distinction is that you can get a bit more Wharves than with most terminals, because the Wharf stays in play and therefore is slightly less likely to draw other Wharves dead. And the fact that Wharf costs {{Cost|5}} is nice; most Big Money type engines really struggle with {{Cost|5}} turns.
| + | |
| − | | + | |
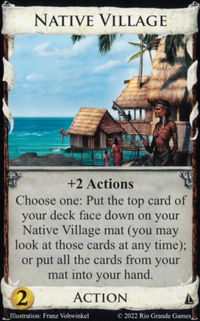
| − | In general, there’s basically no other easy Big Money strategy that beats Wharf, and it beats most simple combos too: [[Combo: Chancellor and Stash]], [[Combo: Treasure Map and Warehouse]], [[Combo: Tactician and Vault]], etc. It even holds its own against the more complex combos: [[Combo: Hunting Party and terminal Silver]], [[Combo: Embassy and Tunnel]], [[Combo: Native Village and Bridge]]. About the only thing it can’t deal with is the [[Golden Deck]] and fast {{Card|Gardens}} [[rush|rushes]], but then few things will beat those decks.
| + | |
| − | | + | |
| − | === Engines ===
| + | |
| − | | + | |
| − | The one thing that you always want with an engine is +buy. This lets you catch up with faster-to-accelerate but lower top-speed decks like Big Money. Convenient, then, that Wharf builds it right into your engine, which both enables you to buy multiple engine components in the early-mid game, and also catch up on greens in the late game. Without Wharf, you’ll have to divert from buying engine pieces to pick up {{Card|Market|Markets}}, {{Card|Pawn|Pawns}}, or possibly other suboptimal cards, in rough proportion to your engine; with Wharf, you get one free with every Wharf, a card you already wanted to stock up on. (Note that this means that Wharf engines, even more so than most engines, are likely to lead to a game ending on piles.)
| + | |
| − | | + | |
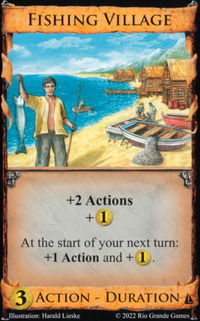
| − | Like most draw cards, building an engine is not just about adding a [[Village (Card type)]] to a Wharf/Big Money deck. Wharf/Money beats {{Card|Village}}/Wharf, typically, unless that Village produces money for you or allows you to play a bunch of other Actions. But any Village that gives some money, like {{Card|Bazaar}} or {{Card|Festival}}, is going to be awesome. And {{Card|Fishing Village}}, of course, is Fishing Village. [[Combo: Fishing Village and Wharf]] is one of the most destructively dominant 2-card engine combos around.
| + | |
| − | | + | |
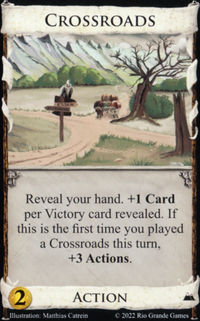
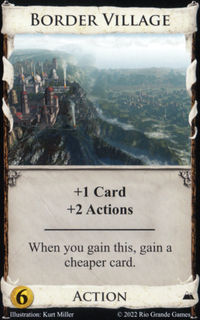
| − | Wharf really shines with cheap Villages in general. Its +Buy means that you aren’t really “wasting” your turn when you pick up {{Card|Native Village}} and {{Card|Hamlet}}; they are cheap enough that you can often scrounge one or two up on your turns while buying other things. {{Card|Crossroads}} is a total superstar, since it both gives Actions and also takes advantage of your massive handsizes. And {{Card|Border Village}}, as always, is great for Wharf: you’ll often want to buy Wharf on {{Cost|6}} anyway, so the BV is just icing.
| + | |
| − | | + | |
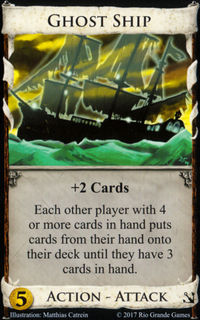
| − | Engine-wise also, what the card gives you is zillions more cards. Other card draw isn’t necessarily bad, but you usually want Wharf instead. Now, if it holds a good attack, a la {{Card|Margrave}} or {{Card|Ghost Ship}}, you might make an exception for a copy or two. But the bread-and-butter of the engine should almost always be Wharf, because it’s just more powerful.
| + | |
| − | | + | |
| − | It’s also important to note that Wharf engines build a good bit differently than those based around other draw cards. Basically, you need fewer Villages and/or can support more other terminals. The reason for this is that you only need to actually play half of your mighty nice draw cards every turn, even while reaping the benefits of those you played last turn. So when I build a Wharf engine, I usually start Wharf-Wharf-Village-Wharf and then alternate. Well, okay, usually it’s more complicated, because I want to get other stuff, too, but you really don’t need that many Villages to support the draw part of your engine. And the +buys are very nicely and plentifully built in.
| + | |
| | | | |
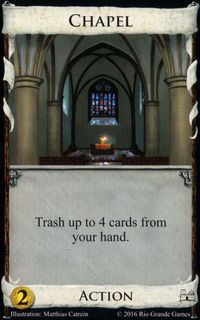
| − | As for [[trashing]], trashing somewhat helps a Wharf engine, as it does with most engines, but it really doesn’t help Wharf that much. It’s easy to end up “over-drawing”, where you don’t have anything left to draw, and trashing slows you down in the race. So you especially need your trashing to be doing work later in the game — {{Card|Remake}} and {{Card|Masquerade}} are OK, whereas {{Card|Chapel}} and {{Card|Ambassador}} less so (Ambassador especially because you might Ambassador all your stuff away only to see a Wharf/money deck absorb the Ambassador and beat you before you get your engine set up). And {{Card|Lookout}}, {{Card|Moneylender}}, {{Card|Spice Merchant}}, etc., are just not that meaningful. Especially with something like Fishing Village/Wharf, even the smallest trashing is going to set you back, and you have so much draw you won’t need it at all.
| + | Some form of deck-drawing [[engine]], often a strong one, is very likely to be possible in Kingdoms with Wharf, as a source of +Actions (or some supplementary non-terminal draw) is the only additional component needed. If this is unavailable, the best approach is likely to be a [[money strategies|money strategy]] with two or three Wharves as your terminals, played on alternating turns. Otherwise, you’ll be building an engine in which Wharf’s powerful draw means that prioritising early trashing may be slightly less important than it typically is. |
| | | | |
| − | What Wharf does, really, is set you up with consistently massive handsizes. Council Room may be superficially similar, but it’s more swingy and less reliable; Wharf chains essentially ensure that every turn starts with a minimum of 7 cards. Where you take your engine after that is up to you, but lots of Kingdom cards favor an engine Wharf as opposed to a money Wharf. {{Card|Coppersmith}}, {{Card|Outpost}}, attacks that you’ll be playing every turn, Bank, etc. Cards like {{Card|Minion}} and {{Card|Laboratory}} and {{Card|Tactician}} don’t really help, and if anything hurt by promoting alternative strategies. But the key is, with just about every engine, you’ll want big hands, and there is no easier route to big hands than with Wharf.
| + | Obtaining a Wharf quickly is often important, and its presence may be a good reason to prioritise generating {{Cost|5}} in the early game. Getting a Wharf into play increases your deck’s early purchasing power and [[cycling]] substantially, while providing +Buy to ensure you can put the extra {{Cost}} generated to good use; gaining multiple Wharves in relatively quick succession is also not unusual. Although some villages will be needed, each Wharf only takes up a terminal slot every other turn. Even accounting for this, maintaining sufficient [[terminal space]] is less critical than with most terminals: although you would prefer not to draw other Action cards [[dead]] with Wharf, risking this by playing it as your final Action of the turn still provides the full benefits of the Duration draw next turn. Wharf’s Duration effect also increases the card’s own reliability by improving the chances that you’ll find your villages in time to play them before the next turn’s Wharves. |
| | | | |
| − | === Synergies/Combos === | + | ===External strategy articles=== |
| − | * {{Card|Throne Room}} / {{Card|King's Court}}
| + | ''Note: Article(s) below are by individual authors and may not represent the community's current views on cards, but may provide more in-depth information or give historical perspective. Caveat emptor.'' |
| − | * {{Card|Peddler}}
| + | * [http://dominionstrategy.com/2012/08/21/seaside-wharf/ 2012 article] |
| − | * {{Card|Cellar}}/{{Card|Warehouse}}
| + | |
| − | * {{Card|Bank}}, {{Card|Fool's Gold}}
| + | |
| − | * {{Card|Fishing Village}}, {{Card|Crossroads}}, other cheap [[Villages]]
| + | |
| − | * Just about [[Card|everything]] | + | |
| − | === Antisynergies ===
| + | |
| − | * {{Card|Hunting Party}}, {{Card|Laboratory}}, {{Card|Minion}}, [[terminal card draw]]
| + | |
| − | * {{Card|Tactician}}
| + | |
| − | * [[Trashing]]
| + | |
| − | * {{Card|Menagerie}}
| + | |
| − | * Mega-[[rush]] strategies, like [[Combo:Ironworks and Gardens]]
| + | |
| | | | |
| | == Versions == | | == Versions == |
Obtaining a Wharf quickly is often important, and its presence may be a good reason to prioritise generating  in the early game. Getting a Wharf into play increases your deck’s early purchasing power and cycling substantially, while providing +Buy to ensure you can put the extra
  generated to good use; gaining multiple Wharves in relatively quick succession is also not unusual. Although some villages will be needed, each Wharf only takes up a terminal slot every other turn. Even accounting for this, maintaining sufficient terminal space is less critical than with most terminals: although you would prefer not to draw other Action cards dead with Wharf, risking this by playing it as your final Action of the turn still provides the full benefits of the Duration draw next turn. Wharf’s Duration effect also increases the card’s own reliability by improving the chances that you’ll find your villages in time to play them before the next turn’s Wharves.